It's been a hurdle I've been meaning to cross. You can't ignore this aspect of urban chicken farming and no matter how hard you try to ignore it, it is the most logical next step: chicken culling.
Until now, I haven't had to step up and attempt this since the natural selection process by neighborhood raccoons and dogs beat me to it. But harvesting your chickens when they get too old to lay is the way it is. When you have new chicks coming into the scene getting ready to lay - well, it's out with the old and in with the new and, according to Seattle zoning laws, you are only allowed eight chickens per yard so, naturally, not many get to roam until their geriatric death. Thankfully for me, my neighbor and co-urban farmer friend needed to 'manage his flock' as new chicks were coming in and two three-year-old hens that quit laying needed to head to the soup pot! Since I felt this would be a good opportunity for some hands-on experience, I naively volunteered to help.
Before this moment, he had only harvested one rooster (you can't have a rooster within city limits) and performed this daunting task while his vegetarian wife read instructions off the Internet and his brave 5-year-old daughter watched on. I had to give it to him (and his family) because I wasn't ready to do this so early on in my chicken farming career, but now I felt ready.
I couldn't help texting him earlier in the day, "Is it wrong I'm looking forward to it?"
"Nah," he replied.
But by the time we headed to his house, saying I felt uneasy was an understatement. When we arrived he had things ready to go: a table wrapped in plastic, a cone tacked to a board, two sharp knives, a plastic-lined garbage can, a cooler full of ice water and a soup pot with hot water.
It was go time.
His second grader grabbed the first chicken and my husband and toddler nonchalantly stood off to the side while my neighbor grabbed the hen, tipped it upside down and attempted to pull her head through the cone. This process helps with a couple things: 1.) They can't move around and 2.) It puts them in a relaxed state.
I'm not going to lie, it wasn't the smoothest culling experience when the chicken's leg continued to get stuck up by the head and the cone, made of heavy construction paper, wasn't holding up with all the rearranging. But my neighbor was a trooper and adjusted to the situation like a champ until the deed was done. He ended up having to lay the chicken on the table and quickly sever it's artery. Next, he held it up to drain the blood and immediately placed in the pot of hot water for one minute which eases the next step: plucking the feathers.
Up until now I awkwardly watched the process but now it was time to roll up my sleeves, take a deep breath and pretend like I've plucked hundreds of recently-killed chickens before. I grabbed the hen and started pulling and was surprised how easily the feathers came off. Strangely enough, I really started getting into a rhythm. (I can't believe I just said that). In no time this strange and lifeless bird started resembling something you pick up at the grocery store and the world as I know it started to return to normal.
After plucking the feathers I bravely took the knife and cut the feet off - which ended up being a rather difficult and awkward task - and I have a broken knife to prove it. But, I accomplished this large feat (pun intended) and set them aside for my neighbor to make some of the best chicken stock around. Recipe here: Mother Earth News Chicken Feet Stock Recipe
The last step was placing the freshly plucked chickens in an ice bath helping to diminish smells when removing the insides. My first culling experience came to a close and although it's a rather odd and unsettling experience to actually take the life of a living being, you do appreciate the approach and embrace the full circle moment for taking responsibility by managing your flock.
Disclaimer: We had photos of the process and actual video but technical difficulties ensued and all documented material was lost. For more great information on chicken culling visit: How to Cull Your Old Laying Hens.
Friday, August 8, 2014
Saturday, April 5, 2014
Conscience buying.
Conscience buying to eliminate waste is always in the back of my mind and while I'm not perfect, I'm working on it and with a family of four - that's all I can hope for.
I've put together a little list of my 'waste-not, want-not' accomplishments:
(Don't roll your eyes, you knew this was coming.)
1.) ZIPLOC BAGGIES
First item to tackle was those really handy, easy-to-use plastic baggies we call Ziploc. They are great for marinating vegetables or meat, perfect for throwing a few snacks in for kids and great for packing up leftovers from dinner. Once I finally pulled my head out of the sand and realized what they were, and how many I was using, I was embarrassed - and appalled - and decided I would no longer be associated with them. After year two of the boycott, I've never looked back.
ALTERNATIVE TO THE PLASTIC BAGGIES: We reuse all our containers that sour cream, cottage cheese and yogurt come in. We particularly love reusing glass containers and fill these up with snacks for the kids or leftovers. We don't buy any new Tupperware containers, just use what we already have. It's been an easy transition and very rewarding!
2.) PAPER TOWELS
They are just so damn handy. I love soaking up everything with these squares of paper. I mean, how do you soak up all the bacon grease without these little guys? (We eat BLT's regularly). Paper towels are a tug-of-war thing for my husband and I: He wants them. I don't.
When I finally eliminate them for months at a time, he talks me into buying them again for a month until I get the environmental guilt-ies and refuse to buy any. I hate paying for paper products you don't need (now toilet paper is not one of them) and paper towels are expensive!
ALTERNATIVE TO THE PAPER TOWEL: We have a basket of old rags and towels we use for wiping up just about anything. We don't typically wash these right away unless they get down right dirty. I haven't figured out the soaking up of bacon grease yet so I just lay them out on a plate. I might start laying it on towels, but I haven't tried it yet.
3.) LIMIT (OR IF YOU'RE AWESOME ELIMINATE) RETAIL PURCHASES.
Second hand and consignment stores are my friends. Like, my really good friends. I've always had a knack for busting through a used store and coming out with some pretty solid shit. Macklemore has nothing on me - I'm the queen of the thrift stores.
ALTERNATIVE TO RETAIL: Check out thrift stores or children's consignment shops for all those little things kids need gear for: soccer shoes, shorts, shin guards, baseballs, basketballs and so much more. There are also organized clothing swaps in various communities where folks take kids clothes and gear to swap for other things they need - all for free. Take advantage of not buying (new) retail!
4.) WORKPLACE SHAPE UP.
I don't know how a company in today's times can continue getting away with buying Dixie cups for available "pure" water and endless amounts of plastic utensils and paper plates - but many of them do. This is ridiculous to me and once I went back to work part-time for a large corporation last year - they had no idea what was coming. I couldn't believe the waste and almost immediately started spouting off my nonsense. Well - my rants worked because they no longer are stocking huge boxes of Dixie cups (which from a storage standpoint is also ridiculous) or boxes of plastic spoons, forks and knives. You're welcome environment.
NEXT UP ON MY ELIMINATION LIST:
- Swiffer (thanks to my husband's sister laughing at me that I don't do paper towels but bust out a Swiffer.) Touche' my friend. (In all honesty, I can't stand those either.)
- Sponges. My husband loves these and color coordinates one for dishes and one for counters. We did start buying recycled material sponges, but it still feels dirty.
Friday, January 24, 2014
My 'Cuppow' Runneth Over.
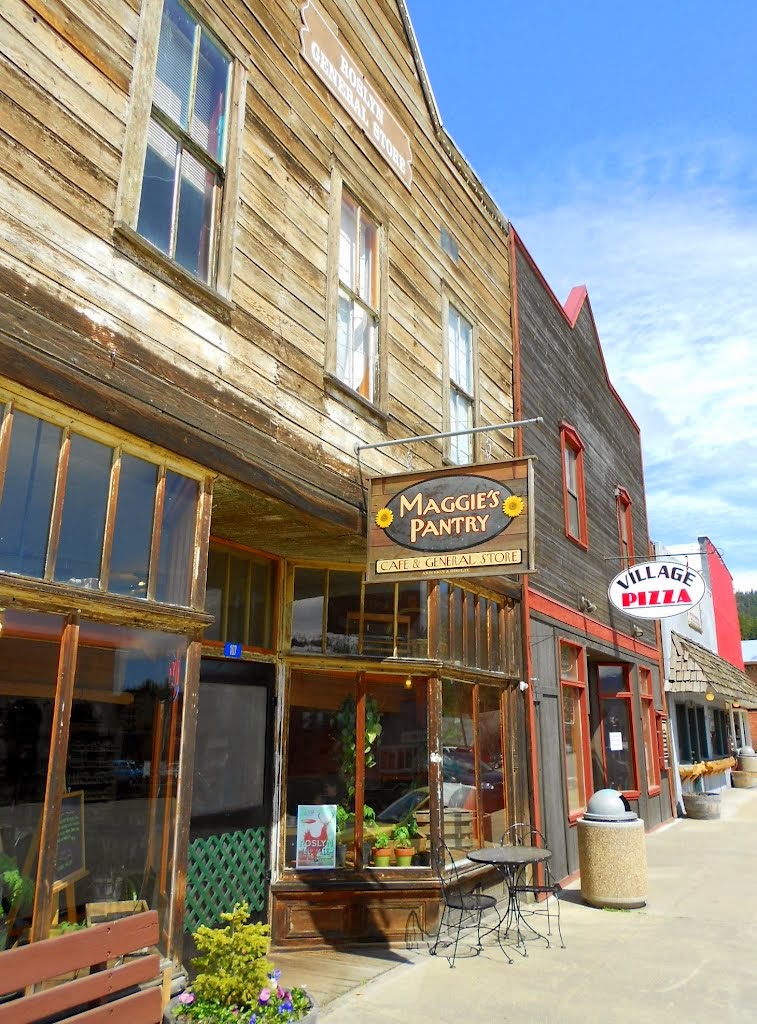 I stumbled upon the best purchase, thus far, of 2014 while visiting Roslyn, WA over the New Year holiday. I realize it's a little early in the year to start naming names, but in my eyes, I found a retail dream.
I got up early on New Years Day and talked my brother-in-law into grabbing the dogs and walking the few blocks to town to grab a cup of coffee. Typically not a lot opens early in this mountain town, but thankfully, a new natural foods store came in since my last visit and they were serving coffee. While we waited, we looked around the cute store located on Pennsylvania Avenue and that's when we noticed it: Cuppow Jar Drinking Lids - the best thing since sliced bread if you have a habit of drinking out of canning jars.

Lucky for us, there just happened to be a local there that day filling up his jar of coffee and when he spun that jar lid around, I knew I had to have one.
I. Fell. In. Love.
Now I do NOT leave home without my Cuppow lid and I bought my husband and brother-in-law one too. They are BPA free, made of food-grade recycled plastic and under ten bucks. You can get various colors and the different sizes include fitting both the wide mouth and regular mouth jars. When ordering direct from the company website you get FREE SHIPPING for all domestic orders and it's good ole USA made! The company is committed to reducing its environmental impact and it's always a good idea to do business with conscience folks.
In a city where coffee and recycling are king, these lids fulfill even the most conservative environmentalist.
Monday, January 20, 2014
My History of Baking.
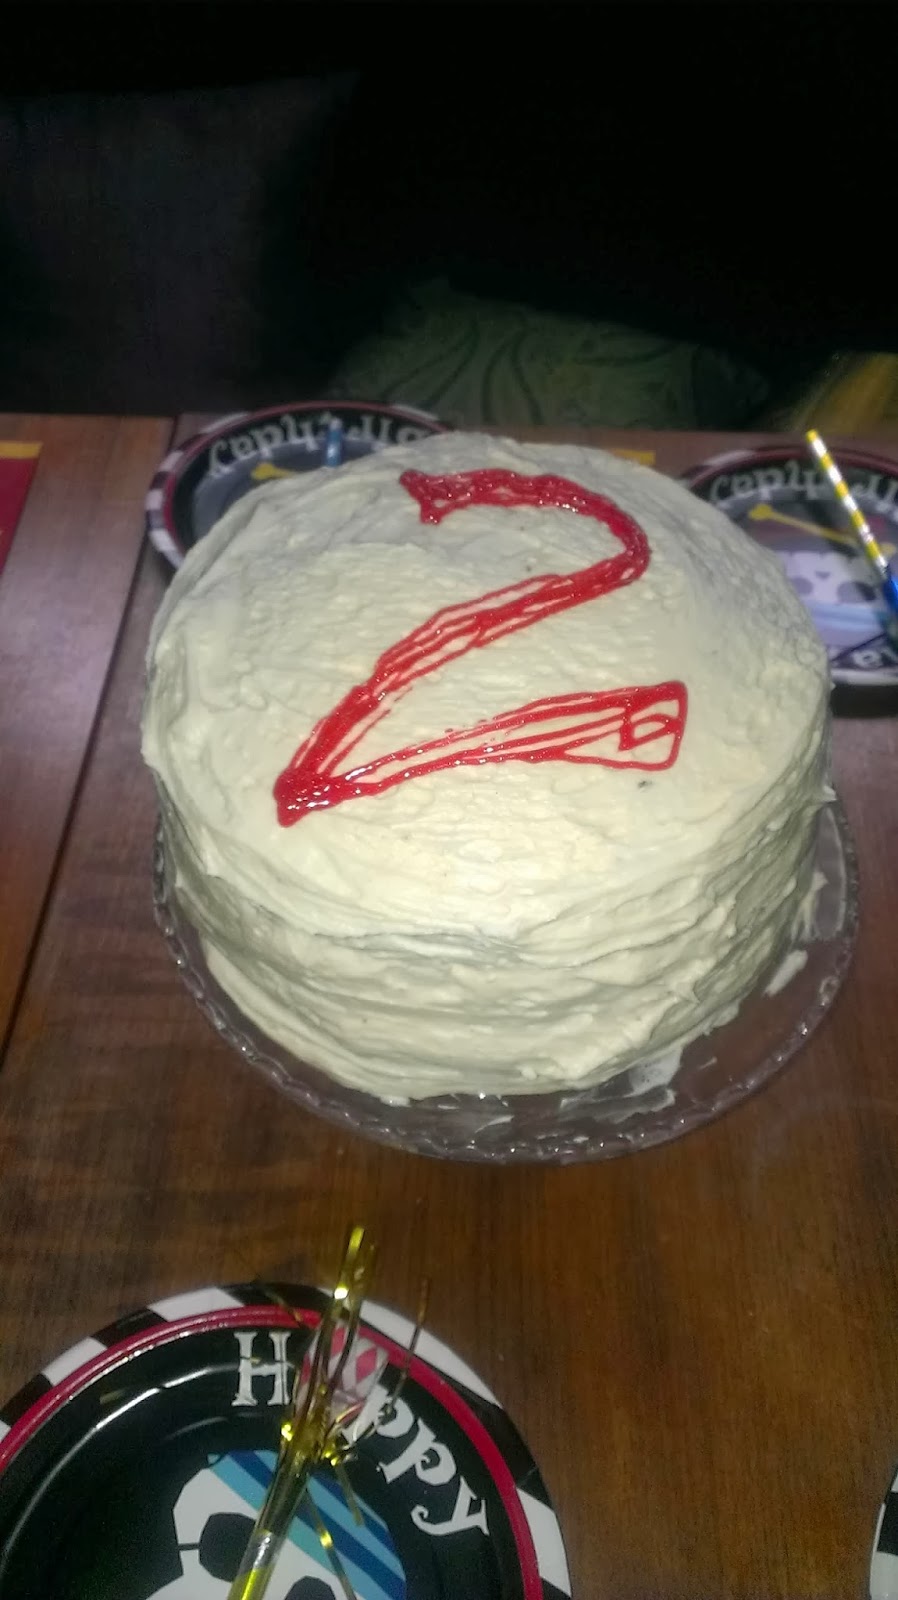
 |
| First Birthday Cake! |
When I do something, I DO something. I'm laid back 363 days a year - until that birthday celebration starts creeping up and then something incredible happens: I think I can bake. Not only bake, but come up with these grandiose ideas of triple layer, raspberry-infused ridiculousness. I just can't seem to help (or stop) myself.
This reminds me of a story when I first started dating my husband. He has no patience really and hates surprises, but I didn't know that at the time. It was Valentine's Day and I got this crazily dumb idea to bake him a "love" cake. I don't even know what that is and I'm embarrassed to say it now, but that's what I did. It was affectionately called the Triple Chocolate Celebration Cake and required mousse, ganache, chocolate cake and fruit. Knowing what I know today, I would never have attempted this; it took days to make and when you're trying to surprise someone with this beautiful cake - it's no easy feat to hide mousse and a triple layered cake in the refrigerator. He was annoyed to say the least and by the time Valentine's Day came around, it was incredibly anti-climatic and I almost threw the whole cake in the garbage.
 |
| My go-to birthday cake recipe: Deluxe Devil's Food Cake |
We have both moved on from that Valentine's Day, but I'm not so sure I've really learned my lesson.
 |
| The cute reindeer cupcakes for my son's first birthday. They did end up looking like a moose, droopy faces and all. |
 |
| I especially love torturing my sister and getting her on board with these birthday treats! |
Happily, I have my go-to 'birthday cake recipe' that I'm willing to share: Deluxe Devil's Food Cake on the Softasilk cake flour box. It's really delicious if I don't mind saying so and I accompany this cake with some fun "theme of the year" cupcakes like Spiderman or reindeer (or moose cupcakes when the marshmallow face starts melting and drooping, but hey, moose are cute, too!)
 |
The start of something wonderful. |
Whoa, look at me! I'm giving out baking tips now which goes to show all you need is a little creative spirit, patience and the right tools (or people to ask) and us 'non-bakers' will be on our way.


Thursday, January 16, 2014
Nailed It: homemade granola.
 I love granola but avoided it for years because all the good ones were loaded with sugar. I'm a fan of granola with cold milk, add a few chewy raisins or cranberries and it's the perfect combo. But, granola is slightly bi-polar because it's good for you but has tons of sugar!
Well, I began to miss the damn stuff and my little boys did too so I decided to start messing around with making it myself. I wanted a new version of it but one that was still pleasing to the taste buds. I wanted some with less sugar while still maintaining the flavor. After a few tries, I'm pretty sure I nailed it - especially since the husband and kids keep asking me to make more. And the best thing about this bowl of goodness is when I have some in the morning, it is the most filling meal of the day. Start your day with this and you will be completely satisfied!
So......without further ado:
HOMEMADE GRANOLA:
1 Box Oats
2 cups Raw Sunflowers
2 cups chopped/slivered almonds
1-2 cups Raw Pumpkin Seeds
1/2 cup - 1 cup Chia Seeds (Flax seeds work great too.)
1/2 cup Honey
1/2 cup Organic Blue Agave
1 cup Canola Oil (I've used olive oil, too)
Lots of Cinnamon
1 Tbsp of Vanilla (or more to taste)
Cranberries or Raisins
Preheat oven at 350. Mix oats, seeds and nuts together in large bowl. Heat honey, agave and oil in sauce pan; heat through and sprinkle with cinnamon and stir in vanilla. Add in batches to oats and seeds and stir. Spread mixture on a waxed paper-lined cookie sheet and bake at 350 for 20-30 minutes. We like ours crunchy and on the darker side, but bake it to your own tastes!
Sunday, January 12, 2014
Building a Food Community and Buying Direct!
 With the recent salmonella scare within the western states last year and the chicken's bacteria getting hundreds of people sick, I'm reassured to keep forging ahead toward eliminating the grocery store and buying my food directly from the farm - when I can't grow it myself. It seems lately my network for local fare has expanded and I've made great connections with folks who supply customers with free-range, organic-fed chickens, whey fed pork and various apples, pears, cabbage and even olive oil! I love this little community we've fallen head over heals with. I don't care who you are, when you grow your own food or know exactly where your food is coming from, there's a certain gratification you get and - yes, maybe even a little pretention. But once the ball starts rolling, you can't help but roll with it.
  That's why I started gardening. It all began when I planted that first seed and something so big and bountiful grew from that one little grain-of-salt size seed. Okay, maybe a pepper, but still - it was transforming. I realize now why my grandparents would get so dreamy when walking us kids through their garden explaining how big this was or that was: raspberries, rhubarb, hazelnuts and cucumbers. I thought it was so cool then, but didn't know how much until I planted my first seed.
 It's no easy feat to plan a family's meal around sustainable, non-factory-made produce and meat. I always prided myself with making homemade meals and never from boxes. But life gets in the way sometimes and that box of macaroni and cheese or slip through a drive through happens and I didn't (don't) always have the skills to figure out an alternative regardless of my 'homemade meals' mentality. But it's what we work toward and we keep getting better each day.
My little food community has grown significantly these past few months. I host a Seattle drop off site of raw honey created a few neighborhoods away and I get satisfaction from allowing people to access this treat. Another neighbor hooked up with a farm for various apples, pears, cabbage, onions, potatoes and mid-to-late harvest olive oils in our state. Who knew! I have a farm less than two hours away who delivers organic, pasture grazed chickens to Seattle's Capitol Hill and a farm in Quilcene whose 16-year-old son raises register Angus grassfeed beef and sells at $5.00 per pound to support his future college education in cattle management - at WSU no less. We also have dairy delivered weekly from a farm started in the 1920s.
This is cool. Everything about it.
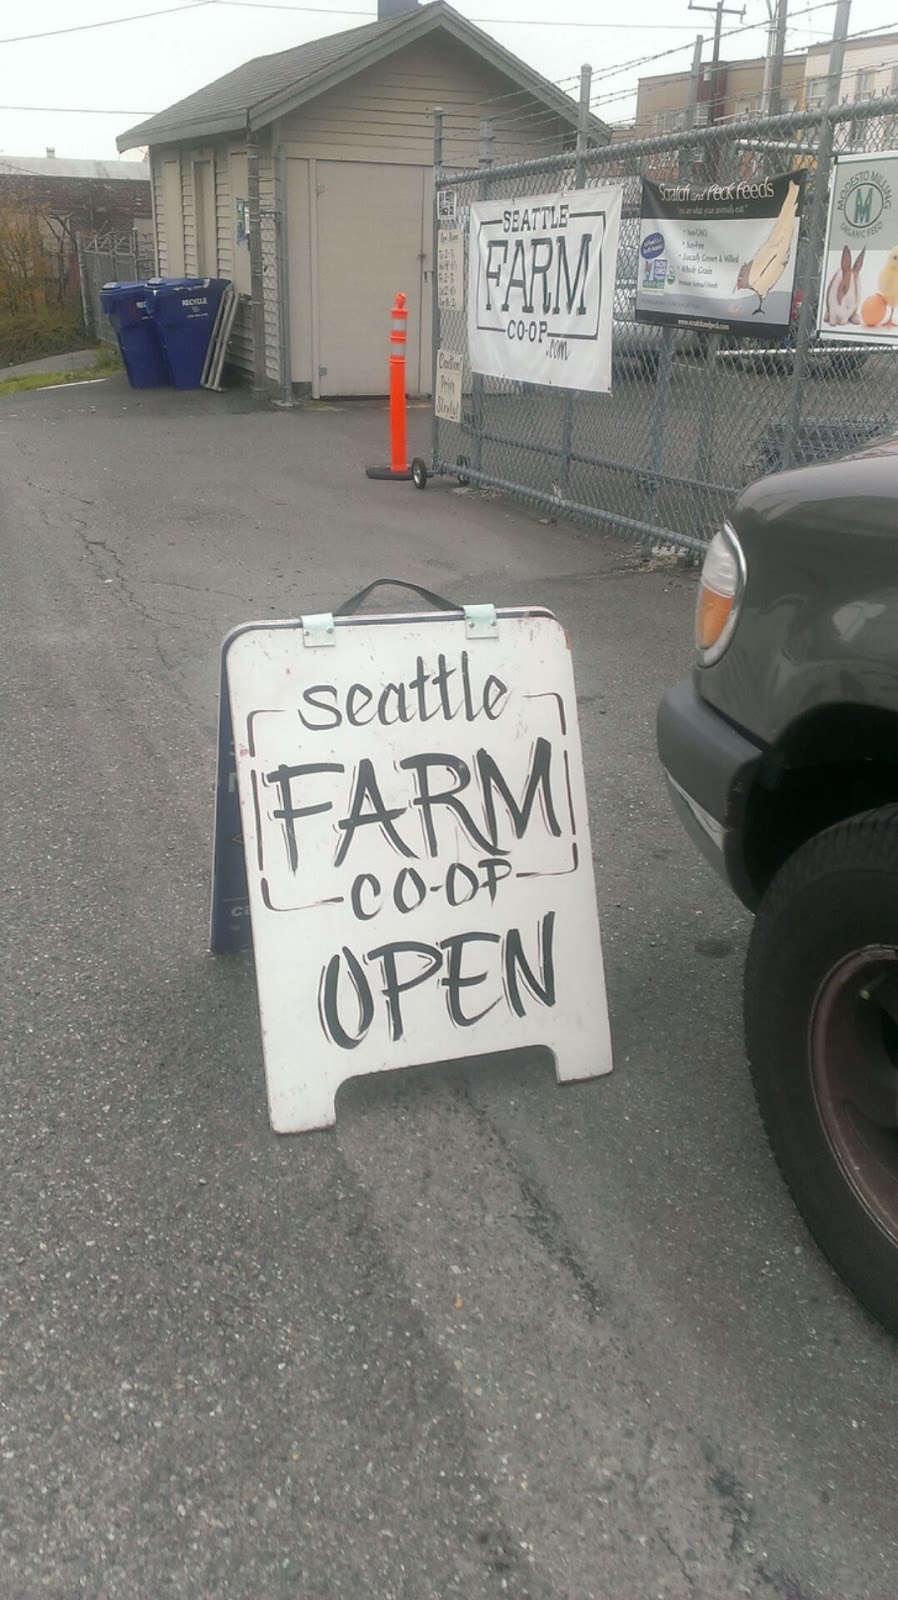
 |
| Do you know who your farmer is? |
Getting started is tough. Talk to your farmers markets and get info on the farms and what types of services or CSA's they have available during the off season. I've got most of my connections through a local web group called Seattle Farm Co-op who offers members a 'Market Day' where farmers promote their goods and a warehouse where you can buy goods at a lower cost . Another cool sight is Farmstr which connects you with local farms in your area and lists what each farm has available!
Tuesday, October 8, 2013
Spinach: A Love Affair

Let's break down the many health benefits of spinach to make myself feel better:
- Lowers the risk of cancer and heart disease
- Abundance of Vitamin K, Vitamin A, calcium, folic acid and iron
- Great source of fiber
- Promotes strong bones
- Contributes to healthy vision and limits cataracts
SPINACH-EGG BENEDICT:
I like to add a little fluff to my already Dyn-o-mite Eggs Benny. (Only on special occasions do I include the cholesterol and fat-filled hollandaise sauce that's oh-so extra delicious.) There's just something to be said when you cut your fork into a perfectly poached eggs with steamed spinach.
Serves one:
- One English muffin split in half. (Forget those weird wheat variety - I go straight for the sourdough. I can't stand the extra-chewy texture of a multi-grain English muffin.)
- Two farm-fresh eggs, poached-to-perfection
- Two handfuls of spinach
- Two slices Canadian bacon or ham (optional)
- Salt and pepper
SPINACH SMOOTHIE OR FOR JUICING
Smoothies seem to be all the rave lately. Sometimes it gets annoying listening to folks explaining what THEY put in THEIR smoothies, but hey, you can't deny it's a savvy way of getting a whole lot of nutrients into your body. So here's MY specialty smoothie:
Serves two adults, one preschooler and one toddler:
- 2 cups coconut water
- 1 banana
- 1 freshly squeezed lemon
- 1 cup frozen or fresh berry medley
- 2 handfuls of spinach
- 1 long squirt of flax seed oil
- 2 stalks celery
- 1 large or 2 small carrots
- Few springs of parsley, Thyme or other fresh herbs
- Couple leaves of basil
- An inch or two of ginger
SPINACH STUFFED CHICKEN BREASTS:
Serves four:
- 4 chicken breasts, skinless/boneless
- Olive Oil
- 4 cups spinach
- 1/2 lb mushrooms, sliced
- 1/2 small onion, chopped
- Goat cheese
- White wine sauce
Subscribe to:
Posts (Atom)